What is Nextcloud?
Nextcloud is a self-hosted file sync and collaboration platform that offers alternatives to proprietary services with features such as file storage, sharing, collaboration tools, versioning, and end-to-end encryption.
The minimum specifications for a small Nextcloud deployment include a single-core CPU at 1.0 GHz or higher, 2 GB or more of RAM, 50 GB of storage with enough space for growth, and a 100 Mbps Ethernet connection or higher.
Updating AlmaLinux 8 OS
Before you begin installing Nextcloud, it is important to make sure that your AlmaLinux 8 operating system is up to date. This will ensure that all existing packages are up to date and will prevent any compatibility issues.
-
Open a terminal window and log in as a user with root privileges.
-
To update your AlmaLinux 8 operating system, enter the following command:
dnf update -yThis command will update all existing packages on your system to the latest version.
-
Next, we need to install some tools that we'll use later in the installation process. These tools include
wget,nano, andunzip. To install these tools, enter the following command:dnf install wget curl nano unzip tmux -y -
Once the installation is complete, you can proceed with the Nextcloud installation.
With these steps, you have successfully updated your AlmaLinux 8 operating system and installed the necessary tools.
Install the Apache web server
To install the Apache web server, run the following command:
dnf install httpd -y
Apache does not start automatically when it is installed, you need to start it:
systemctl start httpd
Then enable it to start on boot time.
systemctl enable httpd
Install PHP 8.1 and the required PHP modules
Currently, PHP 8.1 is not featured in AlmaLinux’s AppStream. However, you can install PHP from (Remi) repository, a free-to-use third-party repository that deploys the latest PHP 8.0 builds.
To install EPEL, use the following (dnf) terminal command:
dnf install epel-release -y
Now that you have added the EPEL repository, enable (the Remi repository) with the following command:
dnf install dnf-utils http://rpms.remirepo.net/enterprise/remi-release-8.rpm -y
Use the (dnf) command to update your repository list:
dnf update -y
Next, enable PHP 8.1 with the following command:
dnf module enable php:remi-8.1
Now that you have added the Remi PHP repository and enabled PHP 8.1 to be the default version on your system, you can install PHP 8.1 with the following command:
dnf install php -y
For NextCloud to seamlessly work some additional PHP modules are required, install them with the following command:
dnf install php-mysql php-fpm php-gd php-zip php-intl php-bcmath php-gmp -y
Increase PHP Memory limit to 512M:
cd /etc/
sed -i '/memory_limit/{s/^.*/memory_limit = 512M/}' php.ini
cat php.ini | grep memory_limit
Install MariaDB and create a database
MariaDB 10.7 is the latest release version of this relational database system. To be able to install MariaDB 10.7 on AlmaLinux 8 you need to add the MariaDB YUM repository:
curl -LsS -O https://downloads.mariadb.com/MariaDB/mariadb_repo_setup
bash mariadb_repo_setup --mariadb-server-version=10.7
Once the repository has been added to the system, installing MariaDB is an easy task that can be accomplished with the following command:
dnf install MariaDB-server MariaDB-client -y
Start the database server daemon, and also enable it to start automatically at the next boot with the following commands:
systemctl start mariadb
systemctl enable mariadb
Once the database server is installed, log into the MariaDB prompt:
mysql -u root -p
To create a database, database user, and grant all privileges to the database user run the following commands:
MariaDB [(none)]> CREATE DATABASE nextcloud_db;
MariaDB [(none)]> CREATE USER 'nextcloud_user'@'localhost' IDENTIFIED BY 'Passw0rd';
MariaDB [(none)]> GRANT ALL ON nextcloud_db.* TO 'nextcloud_user'@'localhost';
MariaDB [(none)]> FLUSH PRIVILEGES;
MariaDB [(none)]> EXIT
Installing the latest version of NextCloud
Use the following command to download NextCloud 25.0.3:
wget -N https://download.nextcloud.com/server/releases/nextcloud-25.0.3.zip
Extract the file into the folder /var/www/ with the following command:
unzip nextcloud-25.0.3.zip -d /var/www/
Create a directory to store the user data,
mkdir -p /var/www/nextcloud/data
Enable permission for the Apache webserver user to access the NextCloud files:
chown -R apache:apache /var/www/nextcloud/
Open ports: 80, and 443 on the webserver:
firewall-cmd --add-port=80/tcp --zone=public --permanent
firewall-cmd --add-port=443/tcp --zone=public --permanent
firewall-cmd --reload
Configure Apache Web Server for NextCloud
Run the following command to create a configuration file for your NextCloud installation:
nano /etc/httpd/conf.d/nextcloud.conf
Add the following content:
<VirtualHost *:80>

ServerName cloud.your-domain.com

ServerAdmin webmaster@your-domain.com
DocumentRoot /var/www/nextcloud

<Directory /var/www/nextcloud/>
Options +FollowSymlinks
AllowOverride All
Require all granted
</Directory>

ErrorLog /var/log/httpd/cloud.your-domain.com_error.log
CustomLog /var/log/httpd/cloud.your-domain.com_access.log combined

</VirtualHost>
Save the file and exit with Ctrl + X and Y. Make sure to replace your own domain! Restart the Apache web server.
systemctl restart httpd
Now disable SELinux on the server to enable the necessary permissions for Nextcloud:
sed -i 's/^SELINUX=.*/SELINUX=disabled/' /etc/selinux/config
setenforce 0
Access your NextCloud Application
Open your browser and complete the final steps at http://cloud.your-domain.com
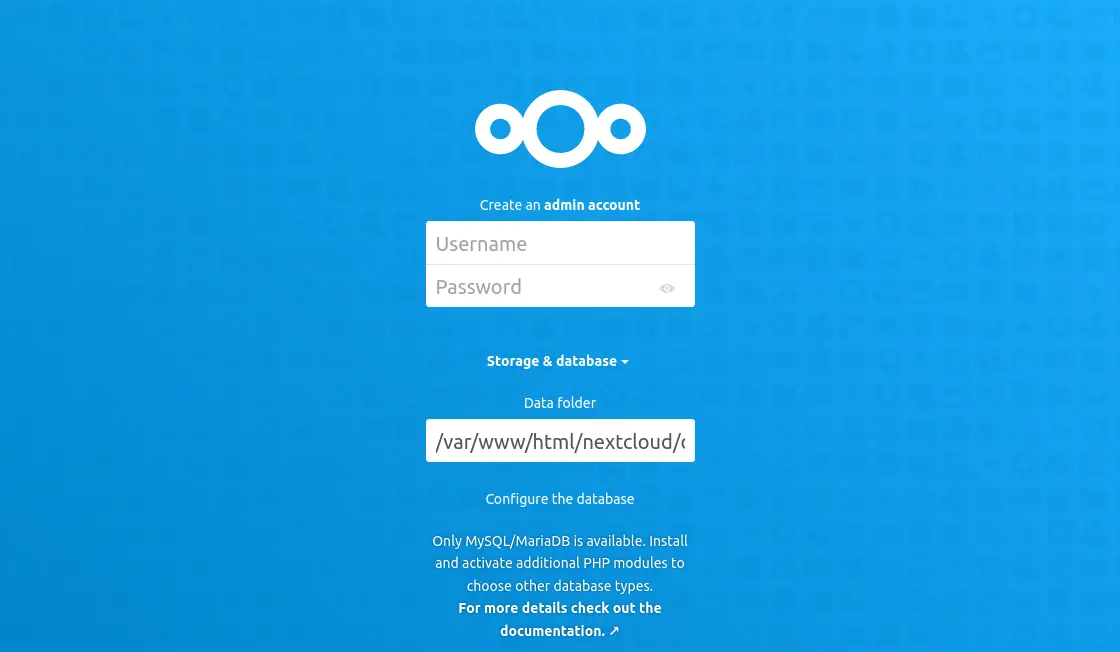
Click the Install button, you will see the Web interface of NextCloud.
The installation of SSL Certificate on Nextcloud
To get started with SSL certificate installation from Let's Encrypt, you can use the certbot tool.
You can install certbot and certbot-apache by running the following command:
yum install certbot certbot-apache -y
After installing, run the following command again to obtain and install the SSL certificate from Let's Encrypt:
certbot --apache -d cloud.your-domain.com
Now restart the Apache web server to access your domain name with SSL:
systemctl restart httpd
Done! You've learned how to install Nextcloud!
